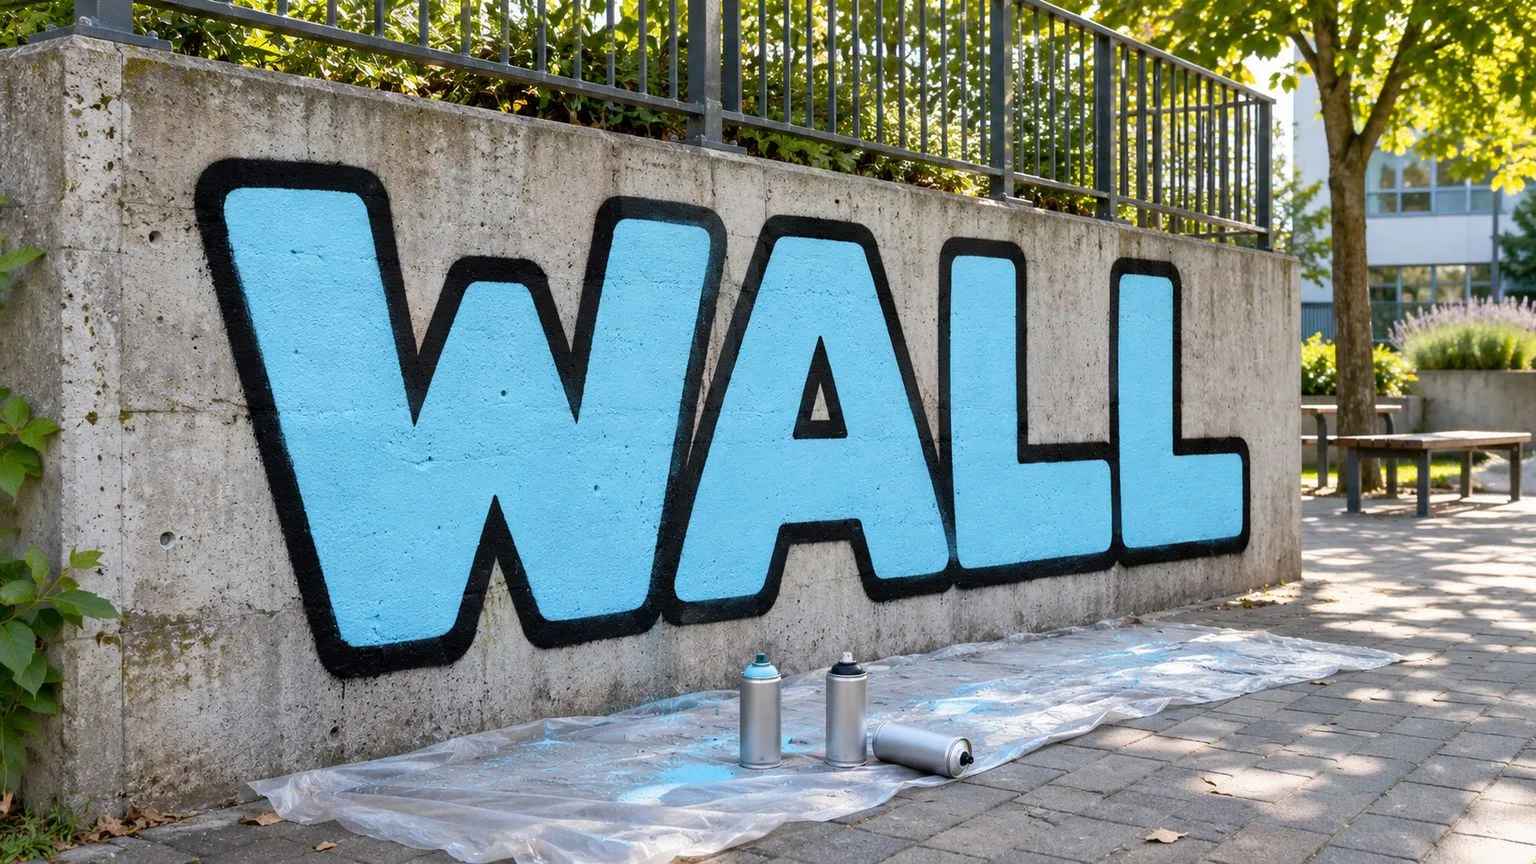
A graffiti outline does more than border a fill. It decides whether the word reads as one shape, whether neighbouring letters separate and whether small inconsistencies look intentional or accidental. Clean outlining comes from controlling three linked variables—distance, movement speed and paint output—then dividing the letter into strokes your body can make steadily. Practise only on a legal wall or a surface where you have permission.
Why outlines make or break a piece
The fill gives letters mass; the outline defines their final silhouette. A wandering outer edge can change a stem width, close a counter or make one letter look heavier than the rest. An uneven internal outline can merge letters even when the sketch beneath them was clear. Step back before outlining and identify the edges that carry readability: outer contour, counters and letter joins.
Keep the first outline simple. One consistent dark color against a lighter fill makes errors easy to see and gives you a useful practice record. The rounded forms in how to draw a graffiti throw-up and the straighter construction in graffiti block letters for beginners require different movements, but both benefit from treating the contour as connected segments rather than one frantic line.
Distance, speed and pressure
Holding the can closer concentrates paint into a narrower, wetter mark. The edge can look sharper, but a pause quickly creates a heavy spot or drip. Moving farther away lets the spray spread, producing a wider and softer line with more overspray. The correct working distance is therefore not one universal number; it depends on the cap, can pressure, wall texture and desired width. Start with a test mark and keep the chosen distance stable through a segment.
Speed changes how much paint reaches each part of the wall. A slow pass deposits more paint and builds a darker, wider-looking line, but it also increases the chance of wet edges and drips. A very fast pass can become thin, broken or pale. Match movement speed to the output: practise a stroke that covers evenly without forcing you to hesitate.
Pressure at the nozzle matters too. With a cap that permits partial control, a gentler press can reduce output for a short correction; a full press gives a more consistent stream for a longer segment. Do not rely on delicate finger pressure to rescue an unsuitable cap or a high-output can. Test the combination first, and treat the result as a tool setting.
Steady lines
Set your stance before pressing the cap. For a horizontal line, arrange your feet so your shoulder and torso can travel along the segment without the wrist reaching its limit. For a vertical, bend or rise through the stroke rather than drawing the whole length by rotating the wrist. The hand guides distance; the larger body movement carries the line.
Choose visible anchor points: the start, end and any place where direction changes. Look toward the next anchor rather than staring at the nozzle. Begin moving just before the spray starts and release the cap just before your body stops. This avoids a dot at each endpoint.
Paint one confident stroke per manageable segment. Repeatedly scrubbing back and forth makes width harder to control and builds wet paint at turnarounds. If a line is longer than your comfortable reach, stop at a planned join and restart from a stable position. Slight overlap is easier to clean than a wobble caused by stretching.
Corners and curves
At a sharp corner, do not force the can through an instant change of direction. End the first segment cleanly, reposition, then start the next segment with a small controlled overlap. Decide which line sits visually on top. Consistent overlap order makes corners look constructed rather than patched.
For an inside corner, avoid flooding the meeting point. Two full passes already add paint there, so release slightly before the corner and let the second segment complete it. If the counter is small, preserve its opening before thickening the outer contour.
Curves come from the shoulder and elbow, not a series of wrist flicks. Divide a large arc into a movement your arm can trace while keeping the can perpendicular enough to the surface and at an even distance. Small circles are difficult because speed changes around the turn; practise them large first, then reduce the size while maintaining the same rhythm.
Cut-backs and clean-up
A cut-back uses the fill color to repair the inner edge of an outline. After the outline has settled enough that the colors will not mix, spray the fill back over an inward wobble, heavy corner or partly closed counter. Follow the intended edge and remove only the excess outline.
Cut-backs are corrections, not a replacement for control. If every edge needs repainting, the piece becomes wet and the proportions can drift as black and fill trade places. Mark the two or three most important repairs, fix those, then step back. Leave harmless texture alone. A clean outline can still show that it was sprayed on a real wall.
A practice drill on a legal wall
Use a permitted practice panel with ground protection and adequate ventilation. Confirm the current rules through the legal graffiti spots guide or directly with the wall operator. Never treat an unmarked wall as permission.
Start with parallel horizontal and vertical lines. Make several at one distance and speed, then change only one variable and compare the edge and width. Add rows of large circles, watching where each loop becomes heavy or flat. Next practise L-shaped corners as two strokes with a planned restart.
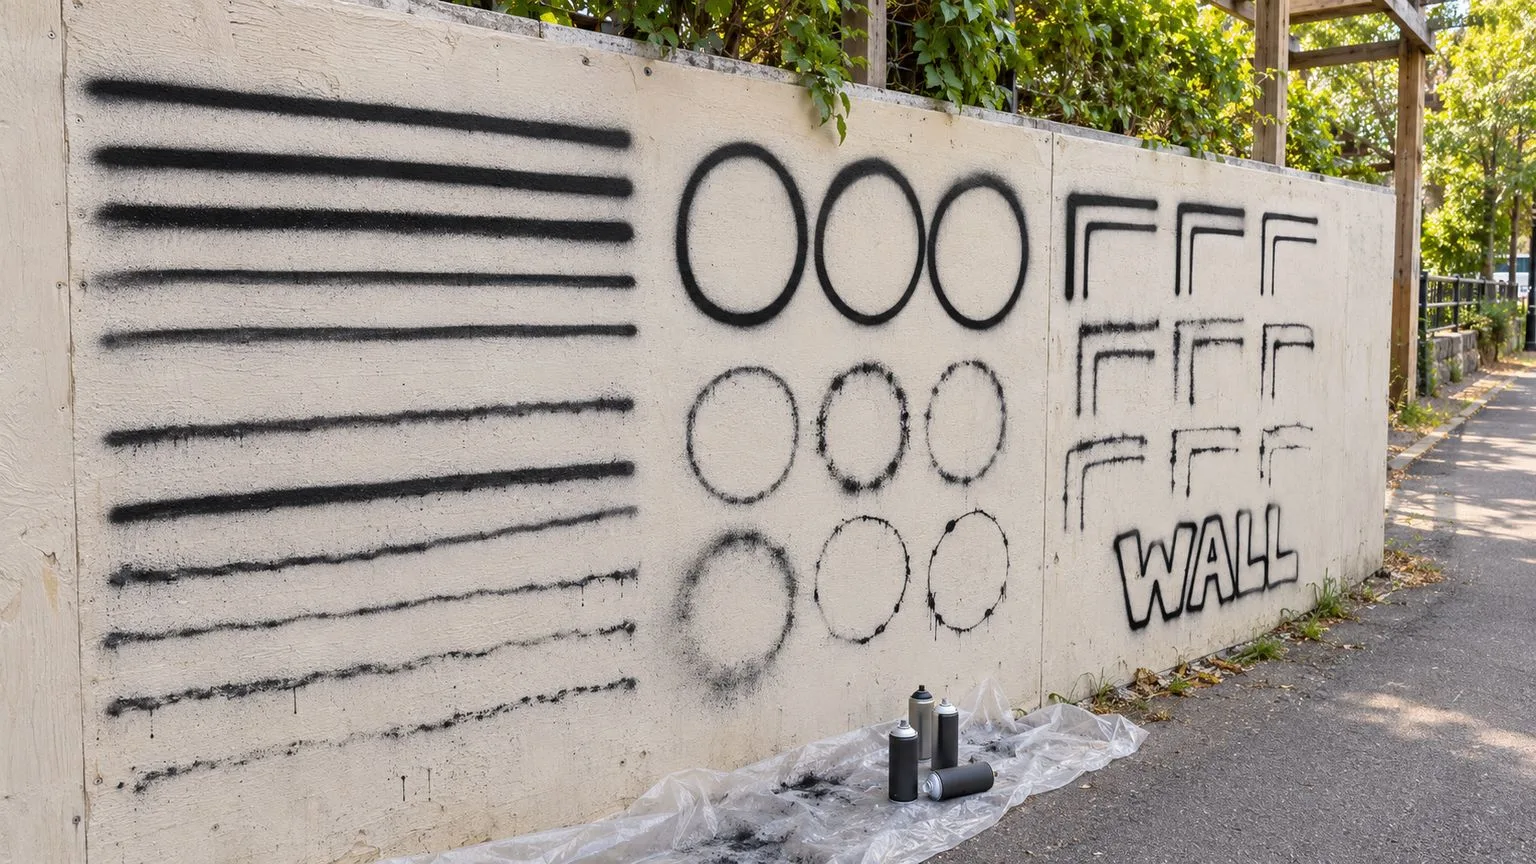
Finish with a short word such as “WALL.” Fill it simply, outline it in segments, step back, and choose no more than a few cut-backs. Photograph the result straight on. On the next session, repeat the same drill and compare line width, endpoint dots, corners and closed counters. Progress is the ability to repeat a clean movement, not the ability to hide every mistake under another coat.